A useful way through
- Record the actual surface and intended location with the responsible property owner. Note existing finishes, condition, obstacles and access. Obtain appropriate permission before applying a graphic; a design mock-up is not evidence that a surface can accept a particular adhesive or fixing.
- Measure the usable area and mark its relationship to doors, sockets or furniture without altering them. Give the designer a reference photograph and actual dimensions. Distinguish the visible image crop from the physical printed and installed dimensions.
- Ask the supplier for a suitable sample and product-specific application, care and removal information. Agree who assesses surface compatibility and performs installation. Do not assume that “removable” means damage-free on every paint or wall.
- Review the artwork and placement proof at an appropriate scale, then record approval of the exact version. Check colour, crop, readable text and required rights. If the wall or material changes, ask the responsible supplier to revisit suitability rather than silently reusing the first approval.
Read the map as text
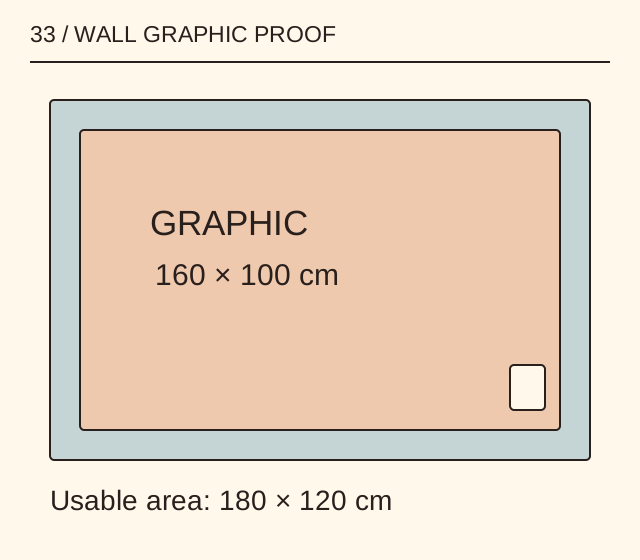
33 / WALL GRAPHIC PROOF · GRAPHIC · 160 × 100 cm · Usable area: 180 × 120 cm
- Surface
- Usable area
- Graphic
- Approval
Put it into practice
A fictional wall has a usable rectangle 180 cm wide and 120 cm high. A proposed graphic is 160 × 100 cm, leaving 20 cm total in each direction before placement is chosen. A socket lies near the proposed lower edge, so the proof is revised with the installer. The arithmetic does not certify installation safety or adhesive compatibility.
Illustrative example, not a reported client project or test.
Your take-away checklist
Commission wall graphics with a surface and placement proof
- □ Surface: ____________________
- □ Usable area: ____________________
- □ Graphic: ____________________
- □ Approval: ____________________
Before you act
This is a commissioning worksheet. It does not prescribe adhesive chemistry, surface preparation, electrical alterations or safe work at height.
A completed example record
This is the illustrative case above. Download the blank version to record your own task.
- Surface
- Existing painted wallCondition and permission recorded
- Usable area
- 180 × 120 cmObstacles measured separately
- Graphic
- 160 × 100 cm proposed20 cm total difference each direction
- Approval
- Artwork + sample + placementSupplier resolves compatibility and installation
Keep the proof tied to the wall
A beautiful image at the wrong crop or behind furniture can fail its purpose. Review the actual viewing position and the wall’s interruptions alongside the artwork.
Plan removal before installation
Ask who removes the material, what the maker requires and what remains uncertain about the existing finish. Keep these answers with the order rather than discovering the question at the end of a tenancy.
Sources & context
The earlier page, Using Wall Graphics In Your Home, was published 2021-08-06 under the Maria Baldwin byline. This guide develops its subject into a new procedure and worked example by MichaelT editorial.