A useful way through
- Name the material and cut you actually need: ordinary paper, a tight curve or a decorative edge. Check that the manufacturer identifies the tool for that use. A metallic finish or attractive handle does not establish suitability for wire, thick board or every fabric.
- Choose the appropriate handedness and handle fit. Handle a sample if possible and follow the product instructions. Keep the task ordinary and controlled; adult craft scissors are not a substitute for age-appropriate equipment and supervision for children.
- On a spare piece of the intended paper, mark a straight line and the relevant curve or corner. Try the cut without forcing the blades. Compare the edge with the project requirement and check whether the hand position lets you follow the line comfortably.
- Label the tool by its agreed use and store it with the blades closed as directed. Retain care instructions and inspect it before the next project. If it drags or damages the material, stop and resolve the tool or maintenance issue rather than compensating with force.
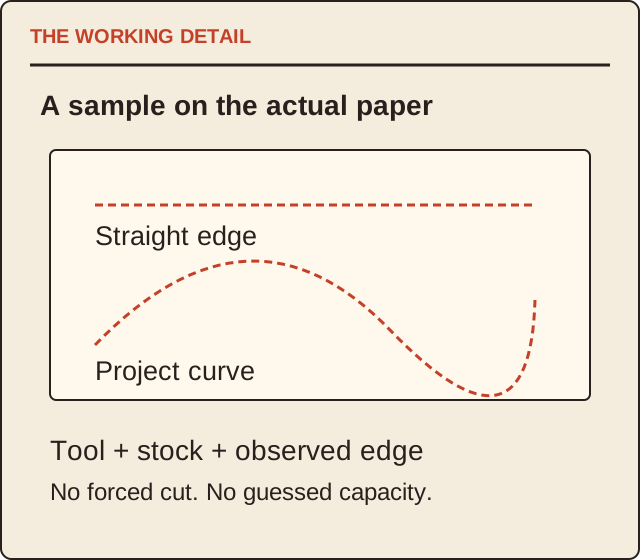
Read the map as text
THE WORKING DETAIL · A sample on the actual paper · Straight edge · Project curve · Tool + stock + observed edge · No forced cut. No guessed capacity.
- Material
- Hand / handle
- Cut sample
- Storage
Put it into practice
For a fictional invitation prototype, the maker marks a straight edge and a shallow curve on the actual paper stock. One sample follows the straight line but tears the curve. The record says exactly that; it does not declare the scissors universally bad. The maker changes the tool or the design and repeats the relevant sample before cutting all invitations.
Illustrative example, not a reported client project or test.
Your take-away checklist
Choose paper scissors with a small cutting sample
- □ Material: ____________________
- □ Hand / handle: ____________________
- □ Cut sample: ____________________
- □ Storage: ____________________
Before you act
This page concerns ordinary adult paper crafting. It does not provide sharpening, industrial cutting or child-safety instructions.
A worked record
Use the example to see the decisions, then download a blank record for your own task.
- Material
- Actual invitation stockUse an offcut
- Hand / handle
- Appropriate handednessComfort during the intended task
- Cut sample
- Straight + project curveInspect edge without forcing
- Storage
- Closed, protected, labelledFollow product instructions
Separate a blade shape from a use claim
A decorative-edge tool makes a different profile from ordinary straight scissors. Compare a real sample at the intended size. Do not assume one successful thin-paper cut establishes the tool’s capacity for an unrelated material.
Keep a small sample card
Attach the stock name, tool model, date and a representative cut. When paper or design changes, make another card. The comparison is more useful than a colour-based shopping list and does not require buying a large collection of tools.
Sources & context
The earlier topic was published 2021-05-18 under the Maria Baldwin byline. The present procedure, examples and diagrams are new work by MichaelT editorial; they do not attribute a new test or professional assessment to the earlier author.